Blender workflow · 10 min read
Use a Grayscale Height Map for Displacement in Blender
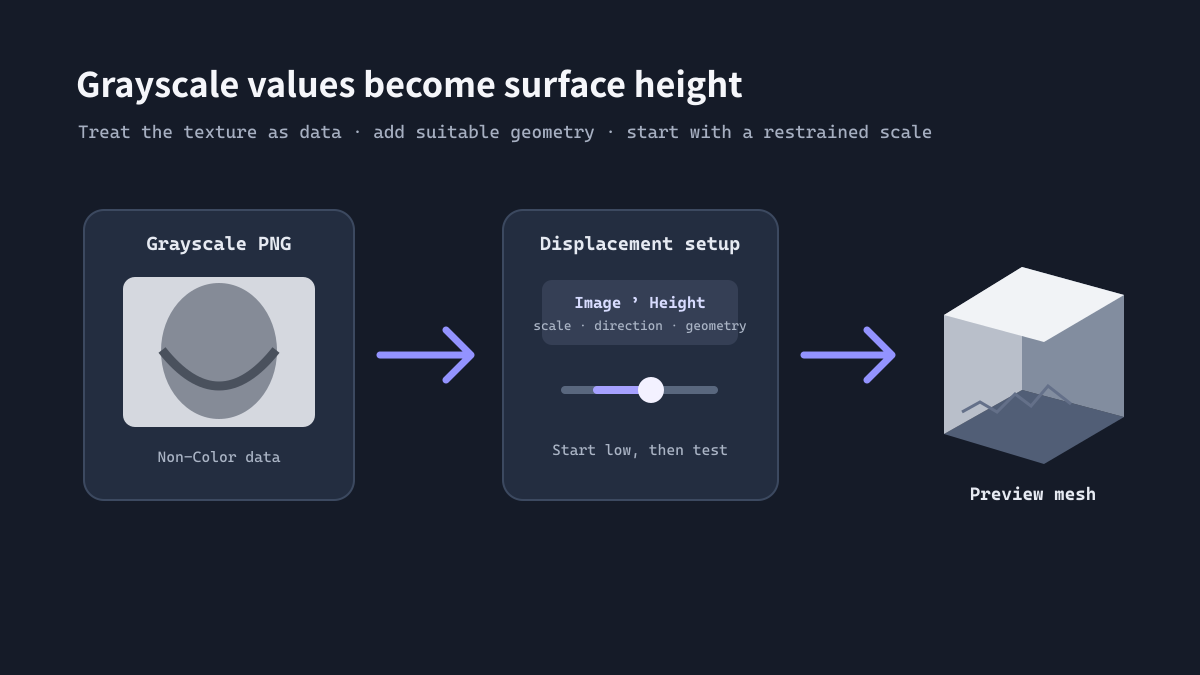
A grayscale height map can drive raised or recessed detail in Blender, but the image must be interpreted as data rather than display color. Correct color management, adequate surface geometry, and a conservative displacement range make more difference than simply increasing contrast.
Prepare the map before connecting it
Check bit depth, direction, and scale
Inspect the PNG for banding, clipped highlights, or a narrow gray range. If a smooth shape has visible steps, increasing geometry alone will not fix a low-resolution or banded map.
Decide whether bright pixels should rise or sink in the target material. Invert the map only when the intended direction is opposite to the result; do not change it just because another tutorial uses a different convention.
A practical Blender displacement setup
Treat the texture as non-color data
Exact node availability and render behavior depend on Blender version and material configuration. Validate the map in the target project rather than assuming one setup fits every scene.
- Import the grayscale PNG as an image texture in the material or displacement workflow.
- Set the texture interpretation to Non-Color so numeric grayscale values are not color-corrected as display imagery.
- Connect the image to the displacement input supported by the chosen material setup.
- Give the surface enough geometry or use an appropriate subdivision workflow for the detail scale.
- Start with a small displacement scale, then increase it while checking silhouette and shading.
- Preview under neutral lighting and save a test render before finalizing the material.
Real example: a sculpted wall material
Keep broad forms readable
For a stone or carved wall, use broad gradients for major relief and reduce high-frequency noise that competes with the silhouette. If the surface will repeat, inspect tile edges and use a modest displacement range so lighting does not exaggerate small seams.
Troubleshoot common artifacts
Change one variable at a time
- Unexpected color tint: confirm the image is treated as non-color data.
- Stepped gradients: inspect the source resolution and bit-depth limitations.
- Spiky surface: reduce the displacement scale and check isolated bright or dark pixels.
- Soft detail: add suitable geometry or use a higher-resolution source map.
- Reversed relief: invert the image or change the displacement direction, then compare a test render.