Blender workflow · 10 min read
Use a Grayscale Height Map for Displacement in Blender
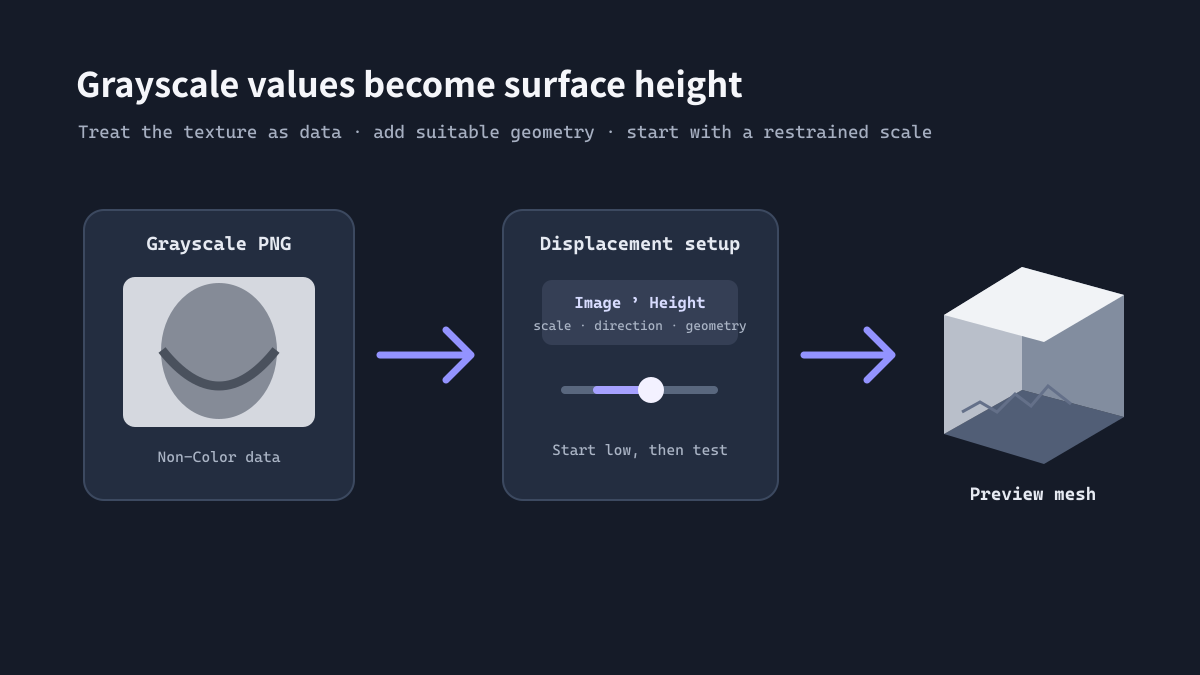
A grayscale height map can drive raised or recessed detail in Blender, but the image must be interpreted as data rather than display color. Correct color management, adequate surface geometry, and a conservative displacement range make more difference than simply increasing contrast.
Prepare the map before connecting it
Check bit depth, direction, and scale
Inspect the PNG for banding, clipped highlights, or a narrow gray range. If a smooth shape has visible steps, increasing geometry alone will not fix a low-resolution or banded map.
Decide whether bright pixels should rise or sink in the target material. Invert the map only when the intended direction is opposite to the result; do not change it just because another tutorial uses a different convention.
A practical Blender displacement setup
Treat the texture as non-color data
Exact node availability and render behavior depend on Blender version and material configuration. Validate the map in the target project rather than assuming one setup fits every scene.
- Import the grayscale PNG as an image texture in the material or displacement workflow.
- Set the texture interpretation to Non-Color so numeric grayscale values are not color-corrected as display imagery.
- Connect the image to the displacement input supported by the chosen material setup.
- Give the surface enough geometry or use an appropriate subdivision workflow for the detail scale.
- Start with a small displacement scale, then increase it while checking silhouette and shading.
- Preview under neutral lighting and save a test render before finalizing the material.
Real example: a sculpted wall material
Keep broad forms readable
For a stone or carved wall, use broad gradients for major relief and reduce high-frequency noise that competes with the silhouette. If the surface will repeat, inspect tile edges and use a modest displacement range so lighting does not exaggerate small seams.
Troubleshoot common artifacts
Change one variable at a time
- Unexpected color tint: confirm the image is treated as non-color data.
- Stepped gradients: inspect the source resolution and bit-depth limitations.
- Spiky surface: reduce the displacement scale and check isolated bright or dark pixels.
- Soft detail: add suitable geometry or use a higher-resolution source map.
- Reversed relief: invert the image or change the displacement direction, then compare a test render.
Blender 工作流 · 约10分钟
在 Blender 中使用灰度高度图制作位移效果
灰度高度图可以驱动 Blender 中的凸起或凹陷细节,但图像应被当成数据而不是显示颜色来读取。正确的色彩管理、足够的表面几何和保守的位移范围,往往比单纯提高对比度更重要。
连接节点前先检查高度图
确认位深、方向和范围
检查 PNG 是否出现色带、高光裁切或灰度范围过窄。平滑形状如果已经有明显台阶,单纯增加几何细分无法修复低分辨率或色带问题。
先确定亮像素在目标材质中应该凸起还是凹下。只有结果方向与预期相反时才反转高度图,不要因为其他教程采用不同约定就照搬。
实用的 Blender 位移设置
把贴图设为非颜色数据
具体节点和渲染表现会受到 Blender 版本及材质配置影响。请在目标项目中验证,不要假设同一套节点适用于所有场景。
- 在材质或位移工作流中导入灰度 PNG 作为图像贴图。
- 将贴图解释方式设为 Non-Color,避免把数值灰度当作显示颜色进行校正。
- 将图像连接到当前材质设置支持的位移输入。
- 为目标细节尺度提供足够几何,或采用合适的细分工作流。
- 从较小位移强度开始,逐步增加并检查轮廓和明暗。
- 用中性光照预览,并在定稿前保存测试渲染。
案例:雕刻石墙材质
让大体起伏保持清晰
制作石墙或雕刻墙面时,用宽缓渐变表达主要起伏,并降低会干扰轮廓的高频噪点。如果表面需要平铺,应检查贴图边缘,并采用适度位移,避免光照放大微小接缝。
排查常见显示问题
一次只调整一个变量
- 出现意外色偏:确认图像被设置为非颜色数据。
- 渐变有台阶:检查源图分辨率与位深限制。
- 表面出现尖刺:降低位移强度,并检查孤立极亮或极暗像素。
- 细节太软:增加合适几何或使用更高分辨率源图。
- 起伏方向反了:反转图像或调整位移方向,再比较测试渲染。