Image optimization · 8 min read
Compress Images for the Web Without Obvious Quality Loss
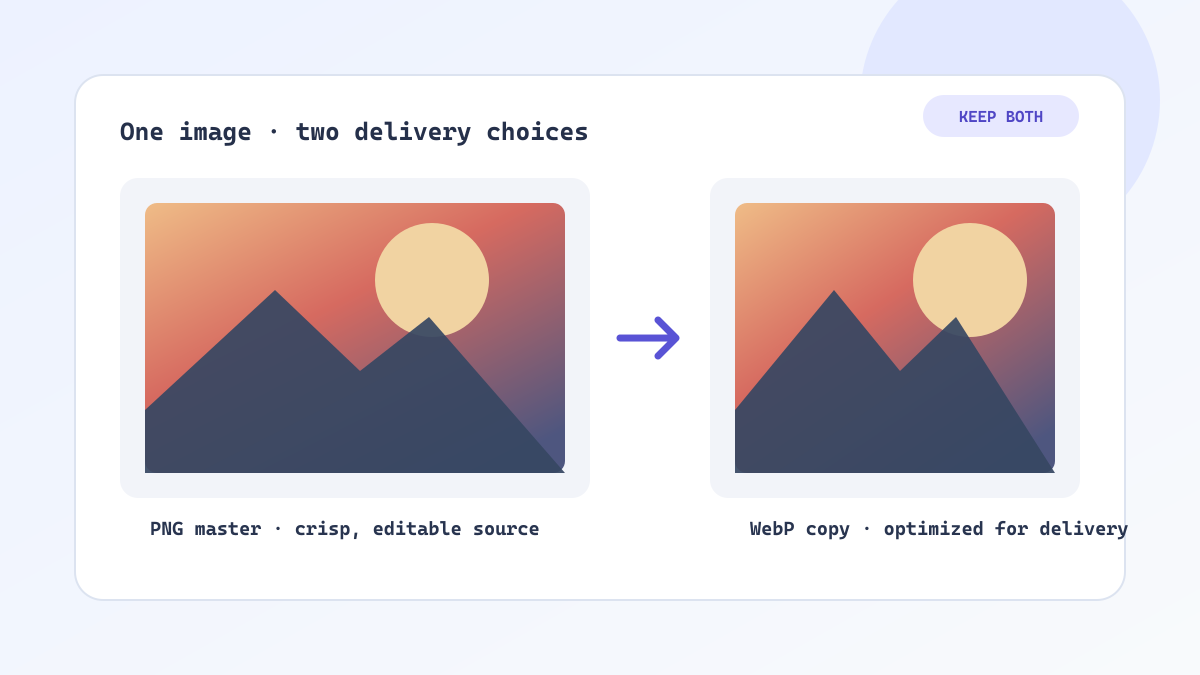
Image compression is useful when it reduces bytes without making the published picture look damaged. The goal is not the smallest possible file. It is a copy that still works at the size your audience actually sees, while the original remains untouched.
Compress a delivery copy, not the only original
Keep a reversible source
Start with a master that you can return to: a camera JPEG, a PNG export, or a lossless working file. Compression settings should be applied to a copy. If the result is too aggressive, you can try again instead of repairing a file that has already lost detail.
PNG, JPG and WebP behave differently. Photographic images usually shrink more as JPG or WebP. Interface graphics and text often look cleaner when you keep PNG or use a gentler WebP setting.
Illustrative workflow image for this guide.
A repeatable compression sequence
Judge quality at the real display size
A banner that looks acceptable as a 160-pixel thumbnail can still show ringing or muddy text when it is displayed at full width. Check both.
- Duplicate the source file before changing anything.
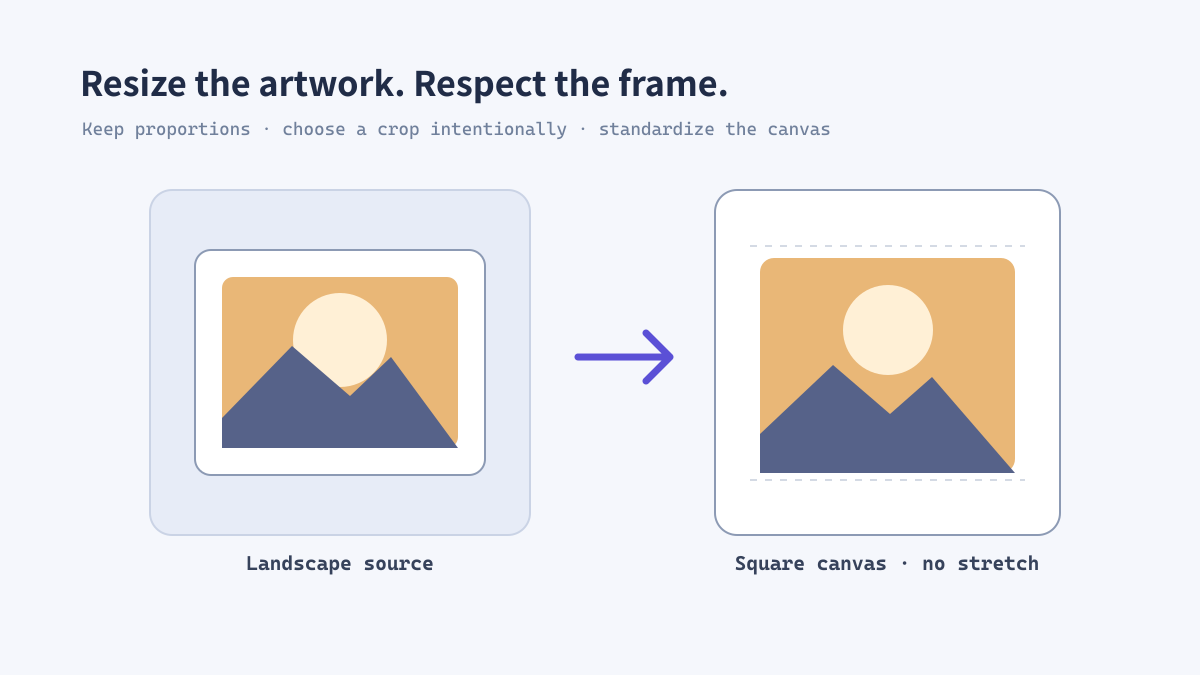
- Resize to the dimensions used on the page or marketplace if the original is much larger than needed.
- Open the ImageTool.cc image compressor and select JPG, PNG or WebP files.
- Start around a moderate quality setting and a practical target size.
- Inspect edges, type, skin tones and gradients at 100% and at the thumbnail size.
- Download the compressed copies and keep the originals in a separate folder.
Illustrative workflow image for this guide.
Real example: a product-detail gallery
Different slots need different file sizes
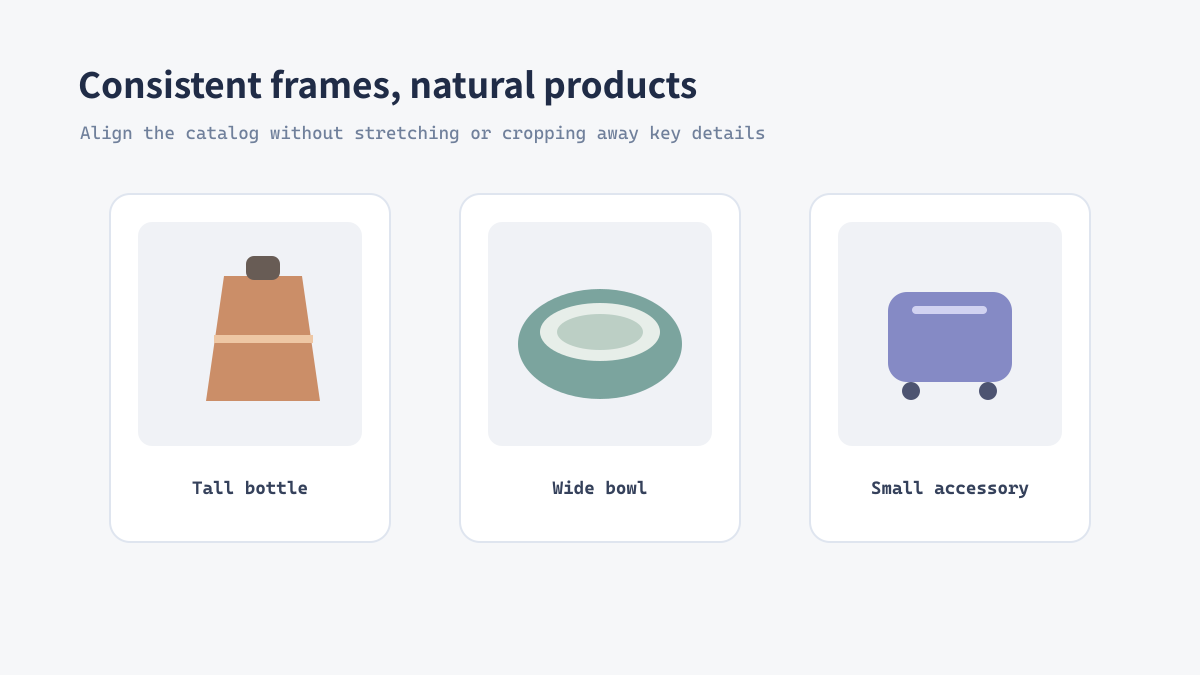
A product page may use a 400-pixel card, a 1200-pixel zoom image and a social square. Compressing one oversized JPEG for all three slots wastes bandwidth on the card and can still look soft in the zoom view. Create one correctly sized copy for each placement, then compress that copy.
If the catalog has transparent cutouts, keep a PNG or WebP master for those files. Flattening them to a small JPEG only makes sense when the destination requires an opaque background.
Illustrative workflow image for this guide.
When to stop compressing
Visible damage is the limit
- Stop if type, logos or thin lines look broken at the published size.
- Prefer a slightly larger file over banding in skies and product backgrounds.
- Do not repeatedly recompress the same JPEG; return to the source.
- Use the compressor for delivery copies, then convert format only when the destination requires it.