Image optimization · 8 min read
PNG to WebP: A Practical Guide to Faster Websites
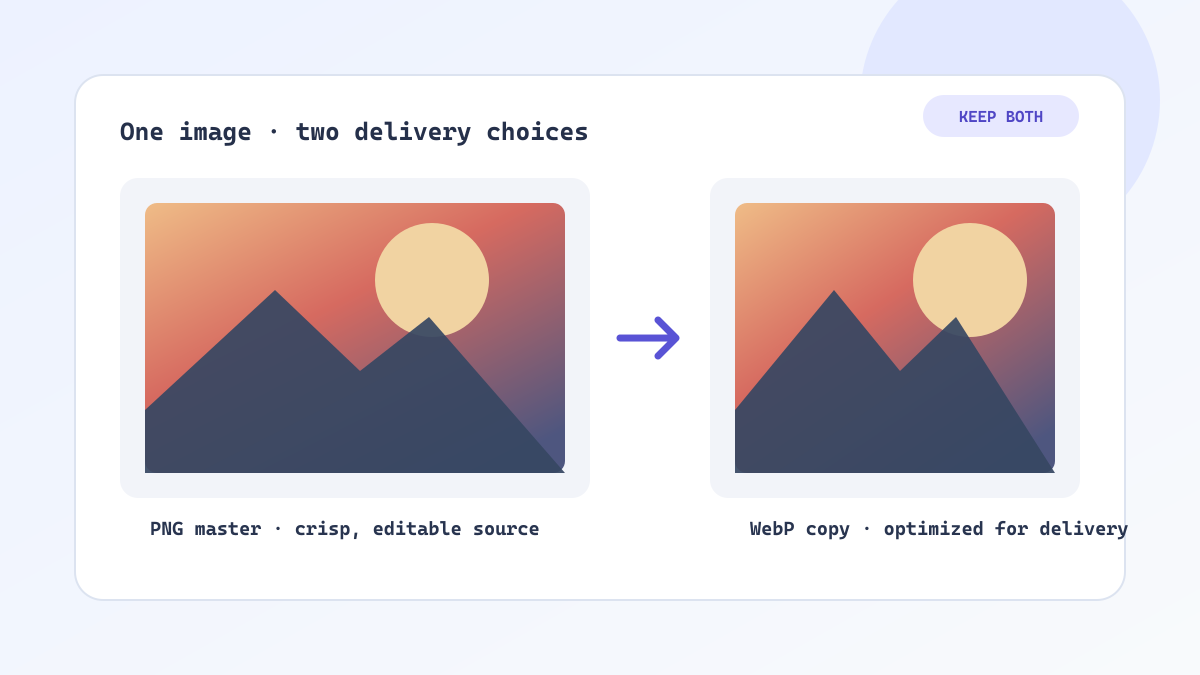
PNG is excellent for lossless graphics, but it is rarely the lightest choice for a modern website. WebP can preserve transparency while reducing the bytes that browsers need to download. The right conversion workflow is not about changing every file blindly; it is about matching format, content, and delivery context.
PNG and WebP solve different problems
PNG stores pixel data without lossy compression, making it a strong choice for screenshots, interface assets, logos, and images that need crisp edges. The trade-off is file size, especially when a large PNG contains photographic or textured content.
WebP supports both lossy and lossless encoding, plus alpha transparency. For a product thumbnail, illustration, or transparent interface asset, it can deliver a smaller download without forcing you to flatten the background.
Illustrative workflow image for this guide.
A conversion workflow that avoids surprises
The important quality check is visual, not just numerical. A 70% reduction is useful only if the result still works at the size your users see.
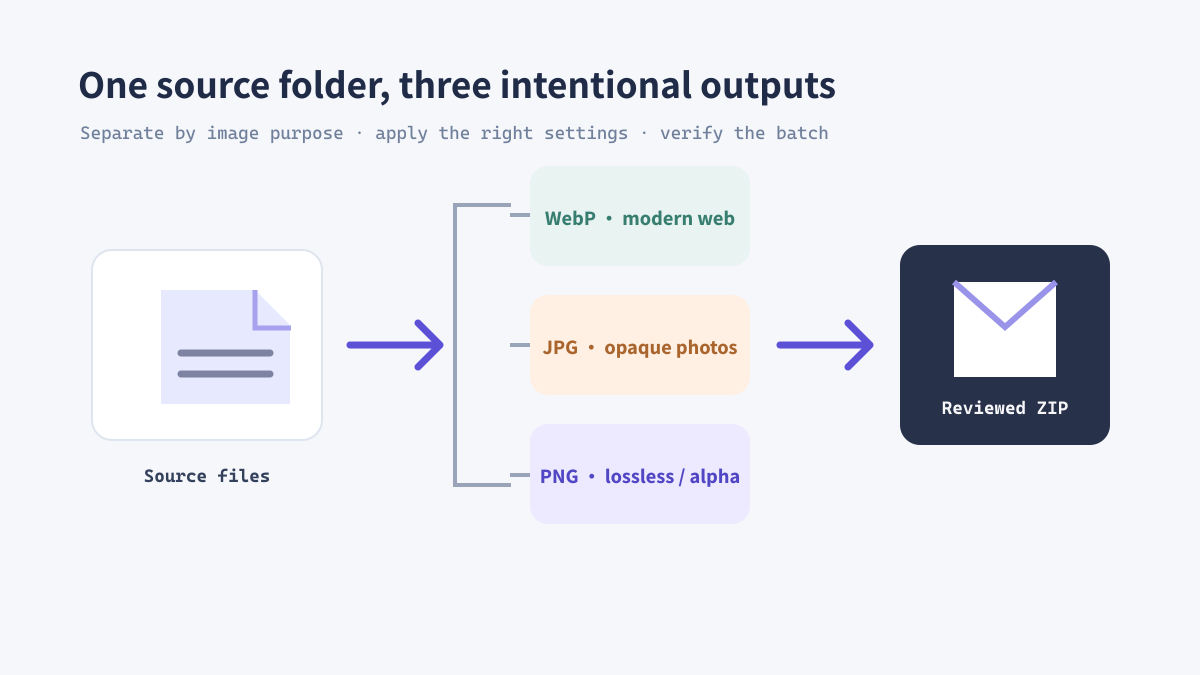
- Group files by purpose: photos, transparent graphics, screenshots, and icons.
- Open ImageTool.cc PNG to WebP and select the files as a batch.
- Keep the image dimensions unless the asset is also being resized for a specific slot.
- Compare the original and WebP at 100% zoom, paying attention to text, thin lines, and transparent edges.
- Download the batch as a ZIP and keep the original PNGs as source assets.
Illustrative workflow image for this guide.
Real example: an e-commerce listing page
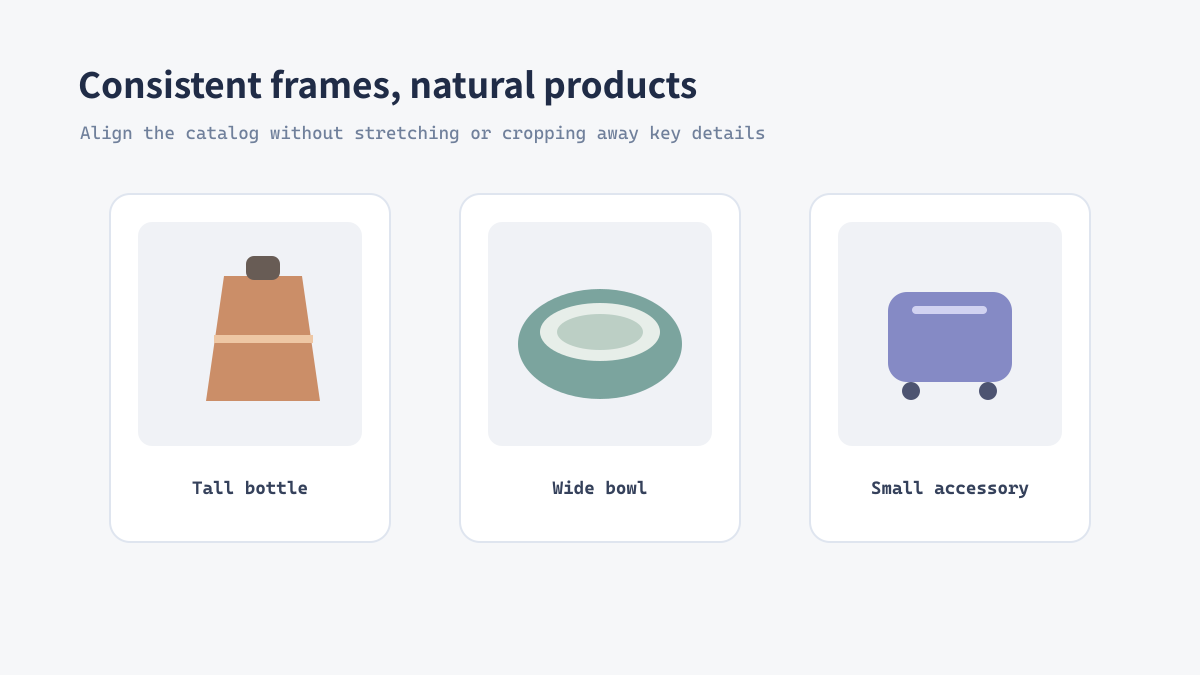
Imagine a catalog with 120 product images exported as 2400px PNGs. The page may look sharp in a design tool, but most shoppers see a 480px card. Converting a correctly sized copy to WebP can reduce transfer size dramatically while keeping transparent product cutouts intact.
A practical sequence is: export a high-quality source, create a display-sized WebP, use width and height attributes in HTML, and retain a PNG source for future edits. This separates design preservation from delivery performance.
Illustrative workflow image for this guide.
When PNG is still the better choice
Keep PNG when you need exact lossless pixels, extensive editing, or a workflow that depends on predictable compatibility. For tiny icons, the difference may be too small to matter. For archival masters, never replace the source merely because a delivery copy is smaller.
- Use WebP for most website delivery copies and transparent product graphics.
- Use PNG for source masters, pixel-perfect UI captures, and pipelines that require lossless data.
- Use JPG for photographic assets when maximum compatibility is more important than transparency.