Design workflow · 9 min read
PNG vs JPG vs WebP: Which Image Format Should You Use?
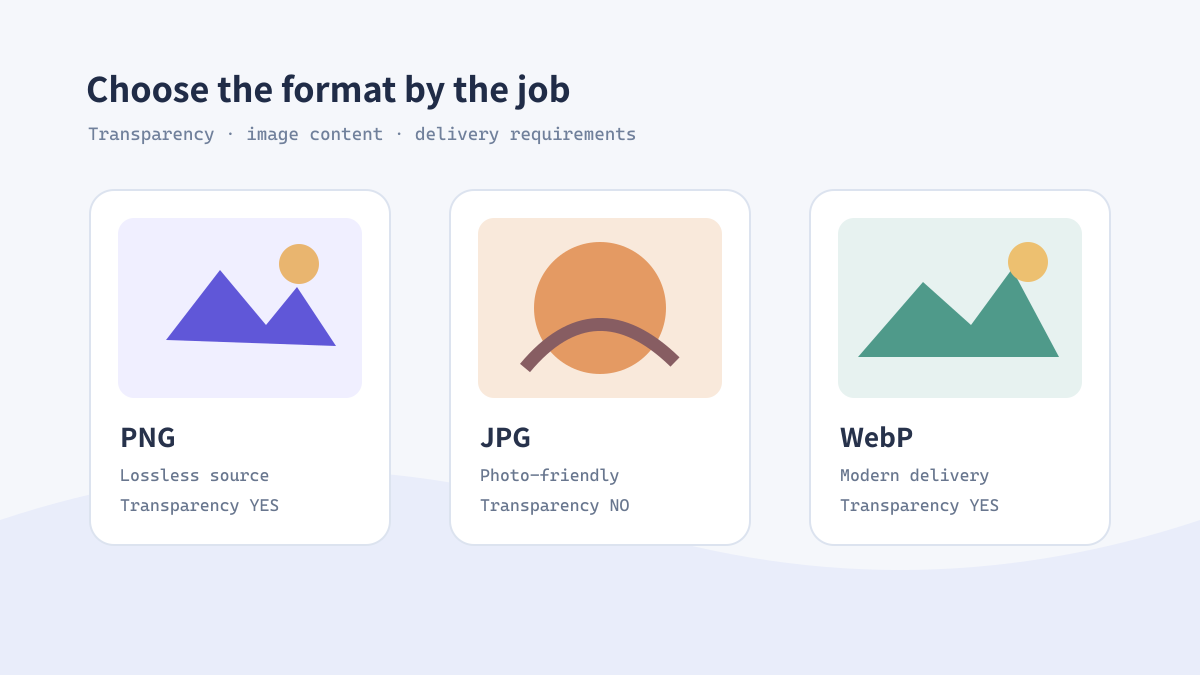
There is no universally best image format. The best choice depends on what the pixels contain, whether transparency matters, how the file will be edited, and where it will be displayed. This guide turns those trade-offs into a repeatable decision process.
Start with the content, not the extension
Photographs contain continuous tones and texture, so a lossy format such as JPG or WebP usually compresses them efficiently. Logos, screenshots, and flat illustrations contain hard edges and small color areas, so lossless PNG or lossless WebP may look cleaner.
Transparency narrows the choice. PNG and WebP can preserve alpha transparency; JPG cannot. If a logo must sit over different backgrounds, exporting it as JPG will create a background color where transparent pixels used to be.
Illustrative workflow image for this guide.
A quick format decision tree
This decision tree is more reliable than choosing a format based on habit. It also makes it easier to explain export decisions to clients and teammates.
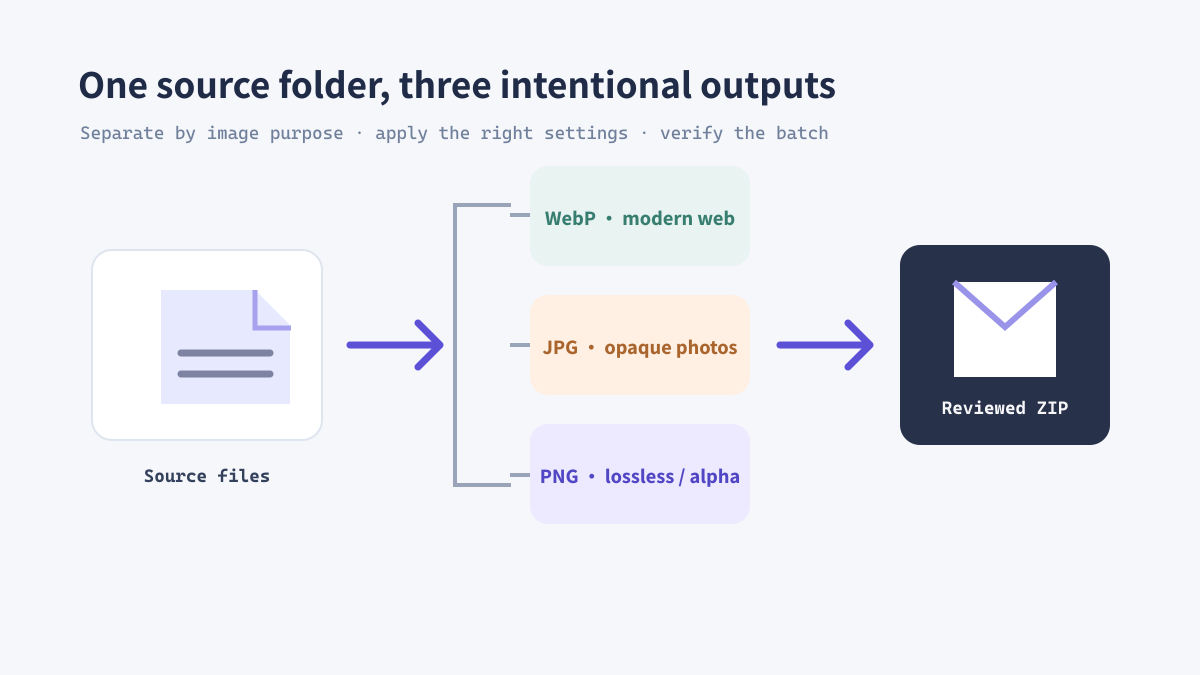
- Need transparency? Choose WebP or PNG. Choose PNG when lossless compatibility is required.
- Is it a photograph with no transparency? Choose WebP for a modern delivery copy or JPG for the widest legacy compatibility.
- Is it a screenshot with text? Test PNG and lossless WebP at 100% zoom; avoid aggressive JPG quality.
- Is it a source master? Keep the original and create a delivery derivative.
Illustrative workflow image for this guide.
Real example: a product launch kit
A launch kit might contain a hero photograph, a transparent logo, UI screenshots, and social thumbnails. Export the hero photograph as WebP or JPG, keep the logo as PNG or transparent WebP, and preserve screenshots as PNG when text sharpness is critical. One format for every file is convenient, but it often creates unnecessary weight or quality loss.
Illustrative workflow image for this guide.
How to test quality before delivery
- Create a copy of the source asset rather than overwriting it.
- Convert the copy with ImageTool.cc and choose a practical output size.
- Inspect text edges, transparent halos, gradients, and skin tones at 100%.
- Check the file size and the way the asset looks in its real page or layout.
- Record the chosen format and quality setting for the rest of the project.
设计工作流 · 约9分钟
PNG、JPG 与 WebP 对比:如何选择图片格式
图片格式没有万能答案。选择时要考虑像素内容、是否需要透明背景、文件是否还要编辑,以及最终显示在哪些设备上。本文把这些差异整理成可重复使用的决策方法。
先看图像内容,而不是扩展名
照片和图形的压缩特征不同
照片包含连续色调和纹理,JPG 或 WebP 等有损格式通常能有效压缩。标志、截图和扁平插画则有清晰边缘与大块纯色,PNG 或无损 WebP 可能更干净。
透明需求会缩小选择范围:PNG 与 WebP 能保留 Alpha 透明度,JPG 不支持透明通道。若标志需要放在不同底色上,导出 JPG 时透明像素会被背景色替代。
Illustrative workflow image for this guide.
快速格式选择方法
按需求逐项判断
按内容和使用场景作决定,比习惯性地给所有图片选择同一种格式更可靠。
- 需要透明背景?选择 WebP 或 PNG;无损兼容要求明确时优先测试 PNG。
- 不透明照片?现代网页可比较 WebP,旧系统兼容优先时可选 JPG。
- 带文字的截图?以 100% 比例比较 PNG 和无损 WebP,避免过度压缩 JPG。
- 这是源文件吗?保留原件,再另存交付副本。
Illustrative workflow image for this guide.
案例:产品发布素材包
同一个项目可以使用多种格式
发布素材包可能同时包含主视觉照片、透明标志、界面截图和社交缩略图。照片可用 WebP 或 JPG;标志应保留 PNG 或透明 WebP;如果截图中的小字清晰度重要,则应谨慎使用有损压缩。为所有文件统一格式虽然方便,却可能造成额外体积或质量损失。
Illustrative workflow image for this guide.
交付前的质量检查
在真实布局中复核
- 复制源文件,不要直接覆盖原稿。
- 用 ImageTool.cc 转换副本并选择实际需要的尺寸。
- 以 100% 比例检查文字边缘、透明晕边、渐变和肤色。
- 同时检查文件体积,以及图片放入实际页面后的观感。
- 记录项目采用的格式和质量设置,方便批量复用。