Maker workflow · 10 min read
Prepare an Image Relief for CNC Carving or 3D Printing
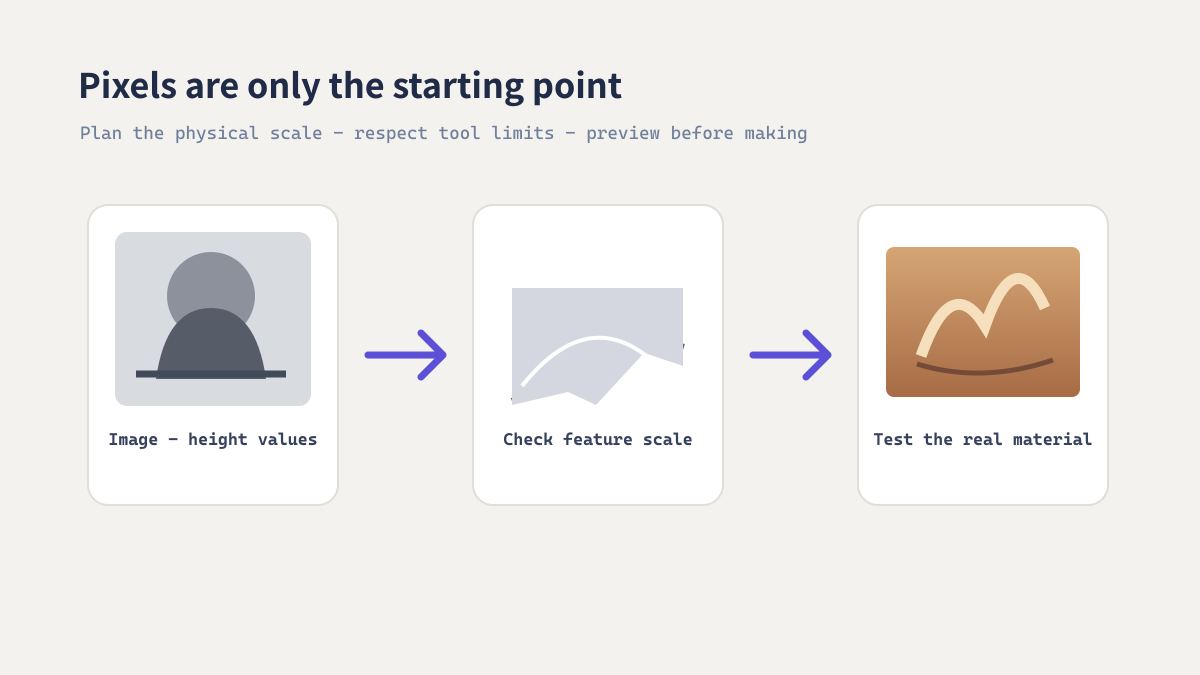
A grayscale image can become the starting surface for a carved plaque or printed relief, but pixels do not automatically translate into manufacturable depth. Subject readability, material scale, tool or nozzle limits, and a test preview all belong in the workflow.
Choose an image that can become a relief
Prioritize silhouette and tonal separation
A clear subject against a simple background is easier to read as a shallow relief than a busy photograph with overlapping edges. Strong cast shadows can be mistaken for physical depth, so prefer even lighting and inspect whether the important shapes remain recognizable in grayscale.
AI depth estimation can create a useful starting map from a photo, but occlusion, reflections, hair, and transparent objects may need manual cleanup. Keep the result as an editable intermediate rather than treating it as a finished toolpath or mesh.
Prepare the depth range for a physical object
Match the map to the intended scale
A small screen texture can disappear when machined with a large cutter or printed with a wide nozzle. Physical limits should guide the map's detail, not only the source image resolution.
- Choose the final plaque width, height, and maximum relief depth before editing the map.
- Generate a height-map candidate with ImageTool.cc and inspect the broad forms first.
- Adjust contrast and smoothing to separate the subject without creating noisy micro-detail.
- Import the map into the target 3D or CAM workflow and confirm which value represents the top surface.
- Set a conservative physical depth and preview the mesh or toolpath at the intended size.
- Test a small section or sample before committing to the full material or print.
Real example: a shallow portrait plaque
Simplify before increasing depth
For a portrait plaque, select a front-facing photo with a readable outline, generate several depth candidates, and choose the one that preserves the nose, eyes, and outer silhouette without exaggerated shadows. Flatten the back and add a border in the 3D application; then check the preview from the expected viewing distance.
Manufacturing checks before export
A height map is not a fabrication guarantee
- Check minimum feature size against cutter diameter or printer resolution.
- Confirm the CAM or slicer interprets black and white in the intended direction.
- Inspect steep walls, thin islands, and the back-face thickness.
- Use a test cut or small print to validate the selected depth range.
- Follow the machine, material, and software maker's safety and setup guidance.
创客工作流 · 约10分钟
为 CNC 雕刻或 3D 打印准备图片浮雕
灰度图片可以作为雕刻牌或打印浮雕的表面起点,但像素不会自动变成可加工的深度。主体辨识度、材料尺度、刀具或喷嘴限制以及测试预览,都是完整流程的一部分。
选择适合制作浮雕的图片
优先考虑轮廓和明暗分离
主体清楚、背景简单的图片,比边缘重叠复杂的照片更容易制成浅浮雕。强烈投影可能被误解为真实深度,因此应优先选择光照均匀的图片,并确认转为灰度后重要形状仍可辨认。
AI 深度估计可以从照片生成高度图起点,但遮挡、反光、头发和透明物体可能需要手动清理。请把结果视为可编辑的中间素材,而不是已完成的刀路或网格。
为实体作品准备深度范围
高度图要对应实际尺寸
大型刀具加工或宽喷嘴打印可能会抹去屏幕上看得见的小纹理。应由实体加工限制决定细节尺度,而不只是依据源图像素。
- 编辑高度图前先确定浮雕的最终宽高和最大深度。
- 使用 ImageTool.cc 生成候选高度图,先检查大体形状。
- 调整对比度和平滑程度,让主体分明且不产生嘈杂微细节。
- 导入目标 3D 或 CAM 工作流,并确认哪个灰度值表示最高表面。
- 设置保守的实体深度,并按预期尺寸预览网格或刀路。
- 使用完整材料或打印前,先测试小区域或样件。
案例:浅浮雕人像牌
先简化,再增加深度
制作人像牌时,选择轮廓清楚的正面照片,生成多个深度候选,挑选能保留鼻部、眼部和外轮廓且不过度夸大阴影的一张。在 3D 软件中压平背面并添加边框,再按实际观看距离检查预览。
导出前的制造检查
高度图不等于制造保证
- 根据刀具直径或打印分辨率检查最小特征尺寸。
- 确认 CAM 或切片软件按预期解释黑白高低方向。
- 检查陡峭侧壁、孤立薄片和背面厚度。
- 先进行试切或小尺寸打印,验证深度范围。
- 遵循设备、材料和软件制造商的安全与设置要求。