3D workflow · 11 min read
A Repeatable Image Workflow for 3D Artists and Material Designers
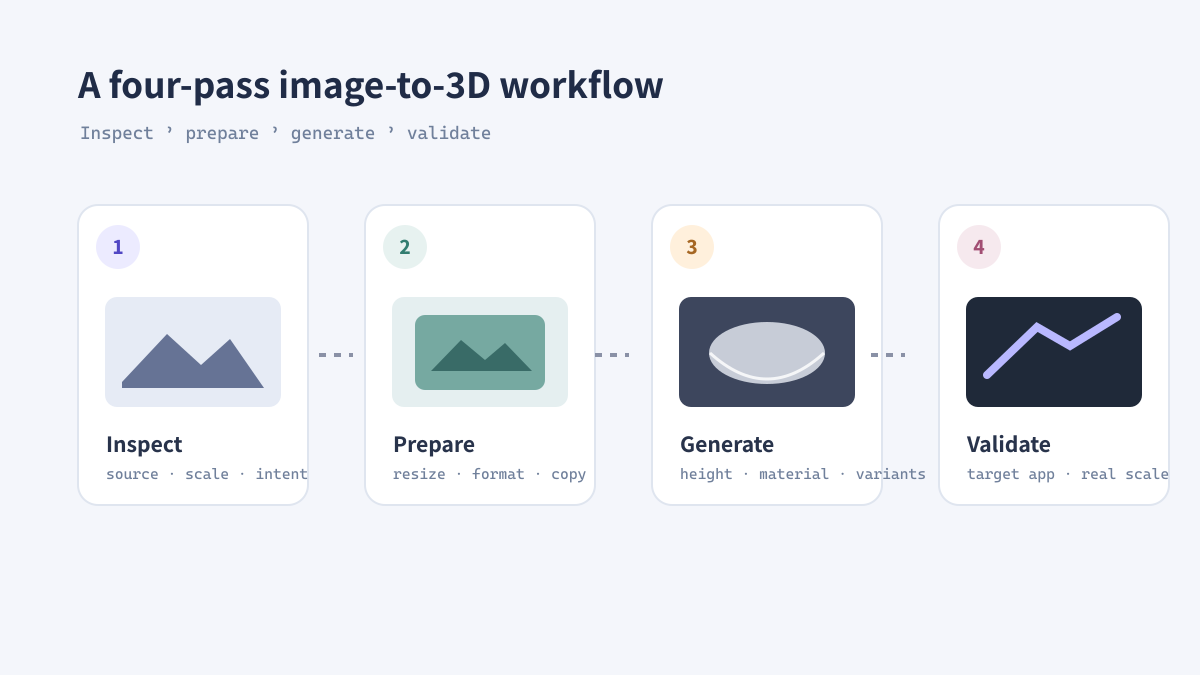
A good 3D image workflow reduces avoidable decisions. Keep a source layer, make purpose-specific derivatives, generate height data deliberately, and test the result at the scale where it will be used. This approach works for materials, reliefs, product visualization, and 3D printing.
Separate source assets from delivery assets
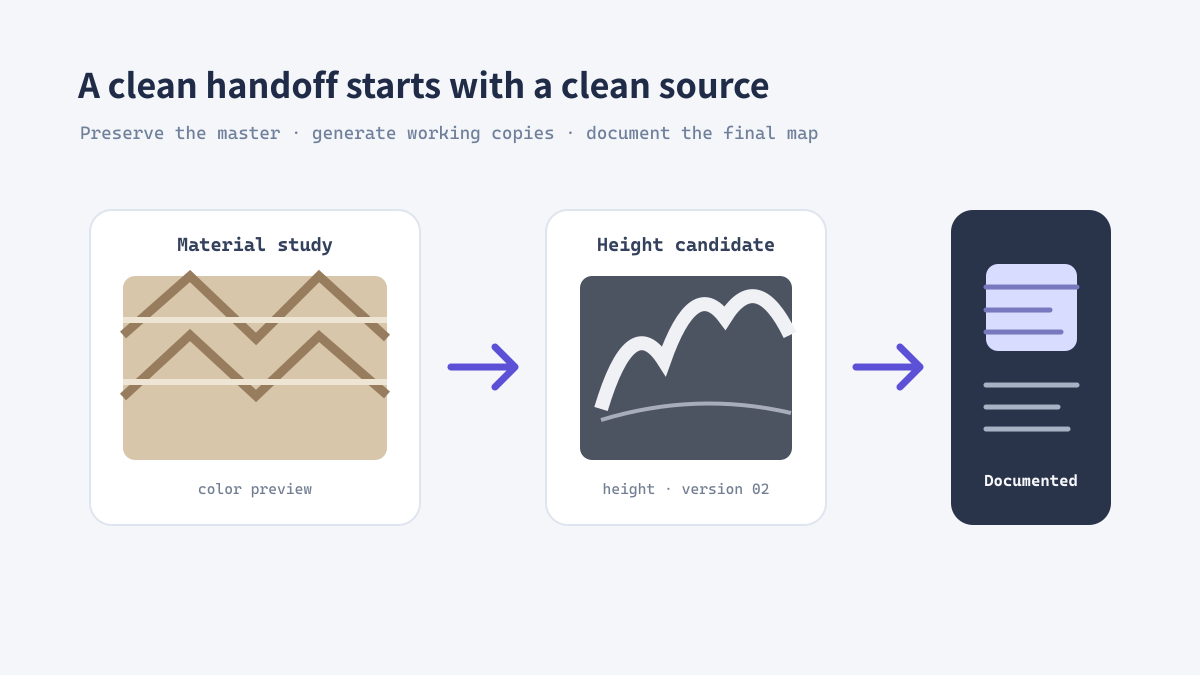
Start with a folder that contains untouched sources and a second area for exports. The source can be a camera image, scan, render, or illustration. Delivery assets are resized, converted, compressed, or altered for a specific tool and should never replace the source by accident.
Use descriptive names such as oak-wall_source.png, oak-wall_height_v02.png, and oak-wall_preview.webp. Version numbers make it possible to compare candidates without relying on memory.
Illustrative workflow image for this guide.
The four-pass workflow
Running these passes in order prevents a common mistake: polishing a map that will later be discarded because the source ratio or output scale was wrong.
- Inspect: remove unusable sources and decide the final physical or screen size.
- Prepare: resize, crop, and convert copies to a practical working format.
- Generate: create a height map or other derived texture and keep multiple candidates.
- Validate: test the asset in the target renderer, 3D package, CAM preview, or device.
Illustrative workflow image for this guide.
Real example: a tileable material study
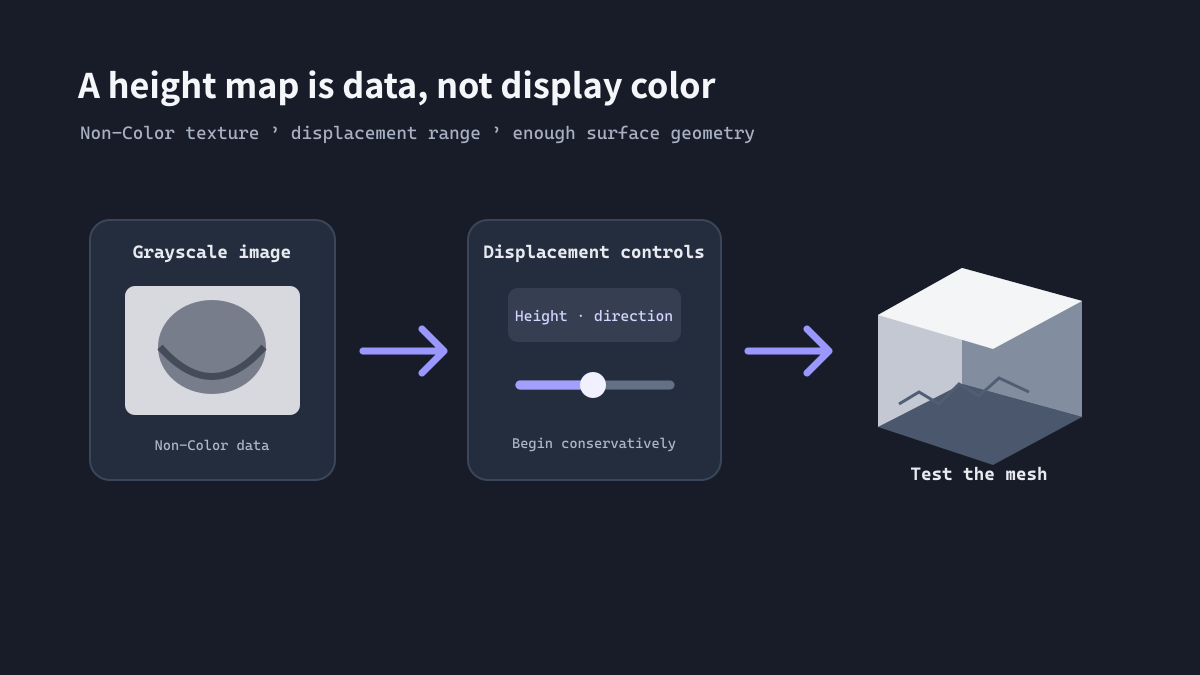
For a material study, begin with a well-lit reference and decide whether the goal is color, relief, or both. Create a display-sized WebP preview for the project board, then use the original or a clean working copy for height-map generation. Compare the relief under a neutral light in Blender rather than judging it from the 2D image alone.
If the surface will repeat, inspect the borders early. A beautiful center can still reveal a visible seam when tiled.
Illustrative workflow image for this guide.
Deliverables that are easy to use
- Include a color preview, height map, dimensions, and intended physical scale.
- State whether black is low or high and whether the map should be inverted.
- Provide a lightweight preview for review and a full-resolution source for production.
- Document the software, export settings, and version of the selected candidate.
- Keep the original source beside the final files for future revisions.
3D 工作流 · 约11分钟
面向 3D 艺术家和材质设计师的可复用图片工作流
好的 3D 图片流程能减少重复决策:保留源文件,为不同用途生成副本,有目的地创建高度数据,并在真实使用尺度下测试结果。这种方法适用于材质、浮雕、产品可视化和 3D 打印。
区分源素材与交付素材
让每个文件的用途一目了然
先把未修改的源图与导出文件分开存放。源图可能来自相机、扫描、渲染或插画;交付素材则会因具体用途进行缩放、转换或编辑,不应意外覆盖源文件。
使用 oak-wall_source.png、oak-wall_height_v02.png、oak-wall_preview.webp 这样的名称,能让团队比较不同候选,而不依赖记忆。
Illustrative workflow image for this guide.
四轮处理流程
先检查,再准备,然后生成和验证
按顺序处理,可以避免先花时间修饰一张最终会因比例或输出尺寸不合适而被弃用的高度图。
- 检查:筛除不可用素材,并确定最终实体尺寸或屏幕显示尺寸。
- 准备:对副本调整尺寸、裁切,并转换为适合当前用途的格式。
- 生成:创建高度图或其他衍生贴图,并保留多个候选。
- 验证:在目标渲染器、3D 软件、CAM 预览或设备上检查素材。
Illustrative workflow image for this guide.
案例:可平铺材质实验
同时检查中心和边缘
先选择光照均匀的参考图,并确定目标是颜色贴图、表面起伏还是两者兼有。可以为项目看板制作较小的 WebP 预览,再使用高质量源图或工作副本生成高度图。在 Blender 中用中性光照比较浮雕,不要只凭 2D 原图判断效果。
如果材质需要平铺,尽早检查边缘。中心看起来不错,并不代表重复排列时不会出现接缝。
Illustrative workflow image for this guide.
便于接手的交付内容
把关键参数和文件一起交付
- 附上颜色预览、高度图、输出尺寸和目标实体比例。
- 注明黑白的高低方向,以及贴图是否需要反转。
- 同时提供便于审阅的轻量预览和生产用全分辨率文件。
- 记录使用的软件、导出设置和选定候选的版本号。
- 将原始源文件与最终文件一起归档,方便后续修订。